
来自之前cnblog的博客
源地址:https://www.cnblogs.com/This-is-Y/p/13773847.html
用的是阿里云学生机服务器,ubuntu系统
先安装一个chromium内核,参考:https://blog.csdn.net/sdujava2011/article/details/50880663
32位:
下载:wget https://dl.google.com/linux/direct/google-chrome-stable_current_i386.deb
安装:sudo dpkg -i google-chrome-stable_current_i386.deb
64位:
下载:wget https://dl.google.com/linux/direct/google-chrome-stable_current_amd64.deb
安装:sudo dpkg -i google-chrome-stable_current_amd64.deb
新方法,直接:sudo apt-get install chromium-browser,然后等着就行了,
然后找到路径:
which ch(双击Tab键)(主要为了确认安装是否成功)
然后填补
which chromium
比如我的是这样子的(路径记下来,有用的)

之后下载python,确保有这些库
1 | pip install queue |
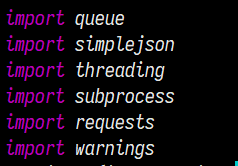
测试一下
1 | import queue |
然后clone原作者的项目https://github.com/timwhitez/crawlergo_x_XRAY
git clone https://github.com/timwhitez/crawlergo_x_XRAY.git
之后的crawlergo 和xray我是选择手动下载在上传到服务器中的
crawlergo:https://github.com/0Kee-Team/crawlergo/tags
xray:https://github.com/chaitin/xray/tags
注意选择linux版本,arm和amd区别开
crawlergo文件放在和launch.py同目录下
xray的位置随意,推荐放在crawlergo_x_XRAY里面
上传到服务器后,有可能无法运行,chmod 777 给一下权限
测试一下能不能用
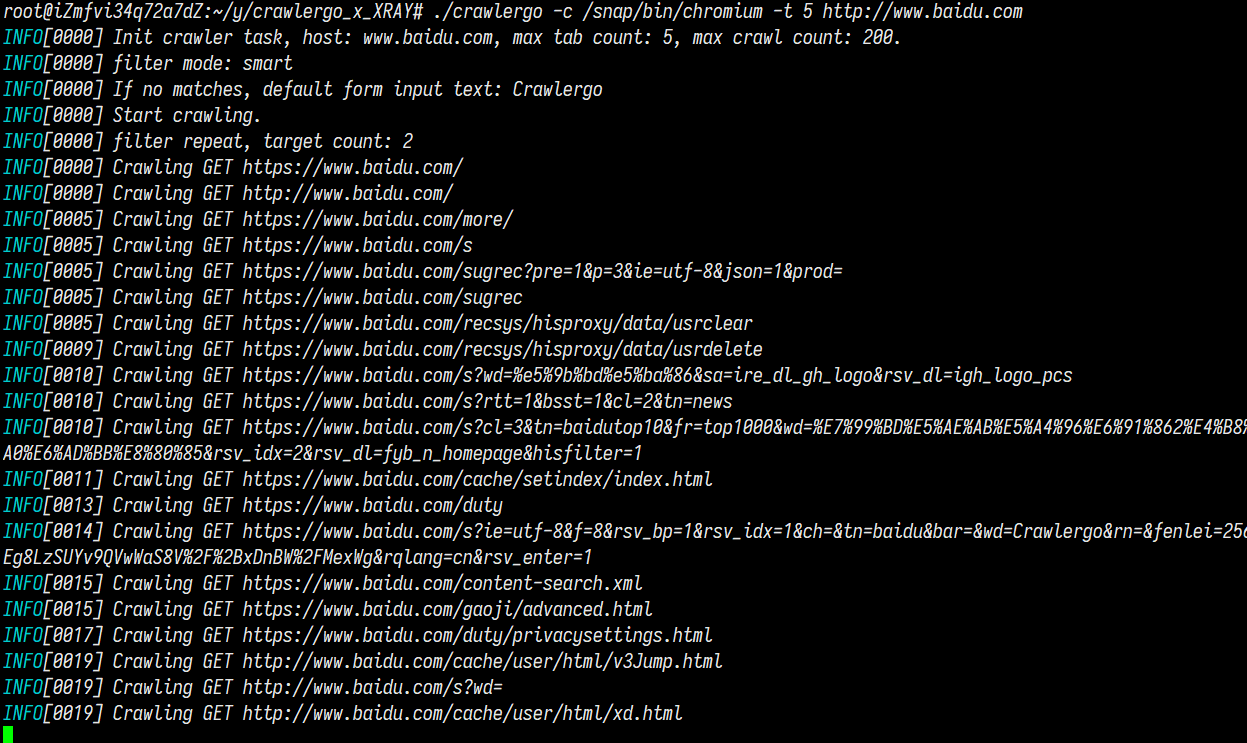
crawlergo: ./crawlergo -c [chromium路径] -t [最大标签页数] [目标网址]
./crawlergo -c /snap/bin/chromium -t 5 http://www.baidu.com
可以正常运行:
新版本作者加了fake_location,不过我的有些问题,一直提示Maximum amount of retries reached
把ua那段改一下就没事了,不知道会不会有别的啥影响
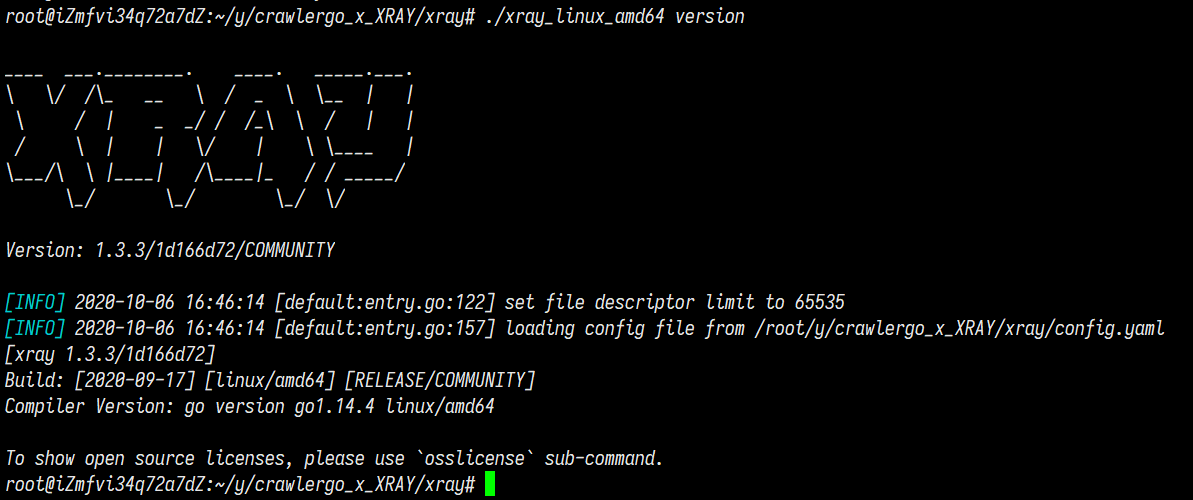
xray :./xray_linux_amd64 version
可以正常运行:
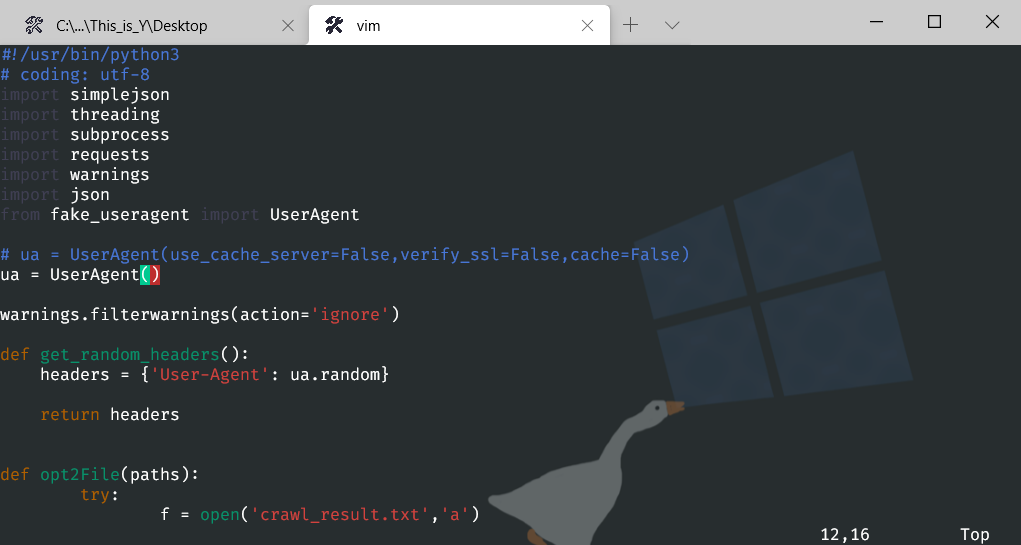
之后vim打开launch.py
找到这一行
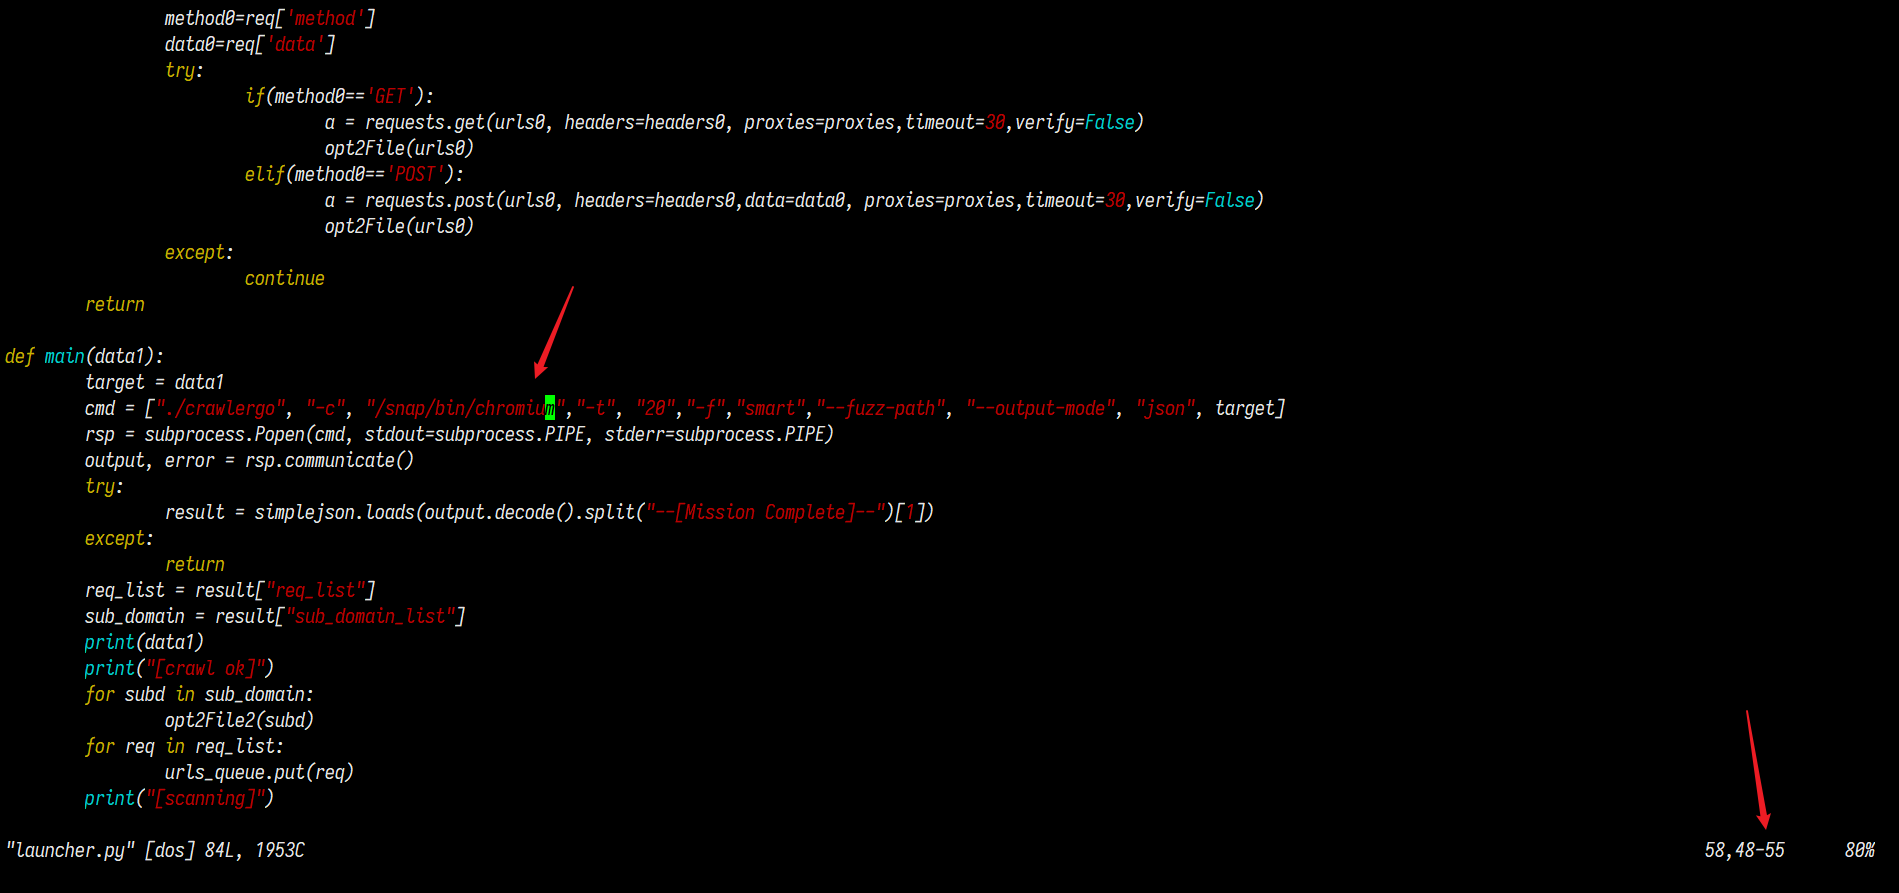
修改为chromium的路径
:wq保存退出
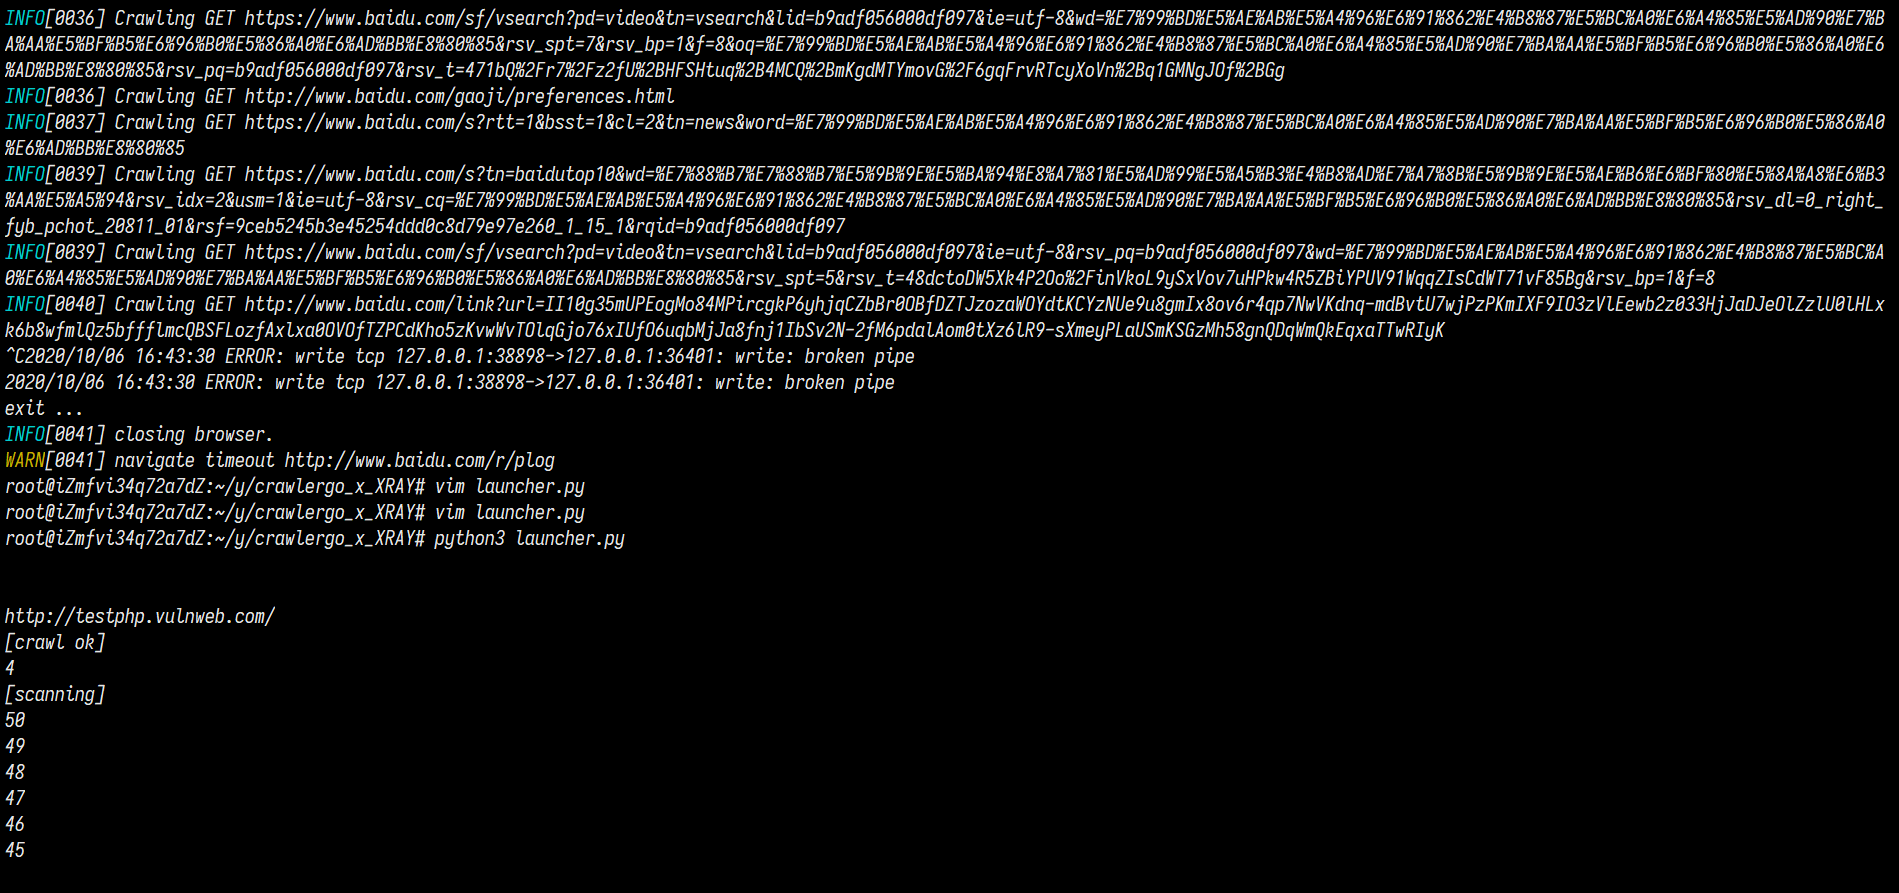
直接测试运行一下
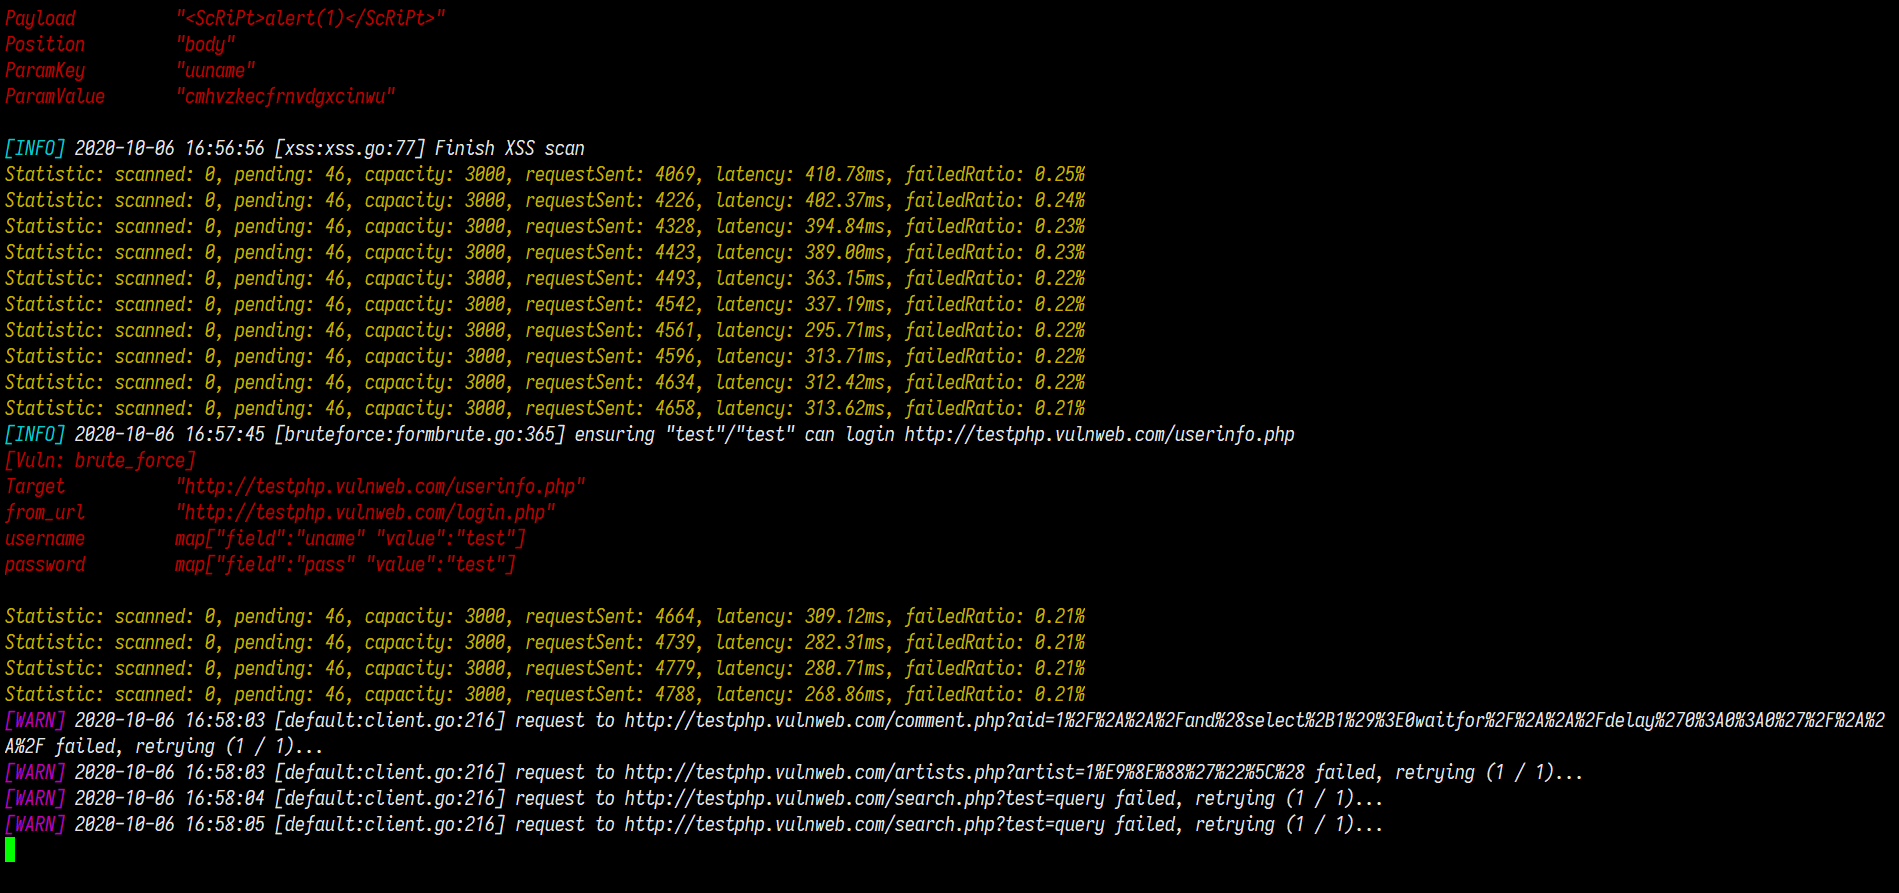
xray: ./xray_linux_amd64 webscan –listen 127.0.0.1:7777 –html-output test_1.html
python3 launcher.py
可能会比较久
~~开始写代码